Pages

Sunday, December 26, 2010

Vintage Christmas


I just love the Vintage Christmas look. The pretty pastel colors, the old colorful tinsel trees, and old pastel hand blown ornaments.  I had so much fun at my favorite antique mall, Mixon's, in Pensacola, FL I thought I'd share it with you all.


But, most importantly let's not forget the reason for the season...
I hope you all had a Merry Christmas!
Happy New Year!

Thursday, December 16, 2010

Frosty and Friends

So the other night, my grandaughter and I went painting. I decided to paint a great big snowman with two penguins hanging from his arms.  My grandaughter put on the first two coats of white and gave up so I finished up the rest. 

We were about 5 hours into painting, she got tired so went to lay down and I continued determined to get this guy finished and not to mention that me and the shop owner, Cathy were having a blast sharing stories as we always do.

So it is 11:00 pm and it is raining and ugly outside. All of a sudden it starts to howl and you could hear either sleet or hail pounding outside. Cathy yells, Tornado! Yikes, scared the living daylights out of me.

I woke up LeeAnn and we all ran for the bathroom.  All I could think about is Oh NO I left frosty sitting on the table and I had just finished him!

Well, the storm went just past us and down another street. Yes, it was tornado and it wiped out a mobile home park. We were lucky.

Anyways, here's FROSTY and Friends...

Tuesday, December 7, 2010

The Ecks

Hopeful Holiday LIVESTRONG Holiday 5x7 folded card
Unique party invitations and announcements by Shutterfly.
View the entire collection of cards.

Thursday, November 4, 2010

Shabby Chic How to - Vanity

I've been asked over and over to "please tell me how you did that - I have one just like it I want to redo". Well here it is. How I did that!  I purchased this really great old furniture set, a vanity, matching high boy and dresser. I love the set but boy was it in poor condition.
As you can see the poor vanity needed all sorts of wood work, but not too worry, it was not hard. A lot of the veneer was missing in the corners of the drawers and just a bit of wood filler cleared that right up.
                             

 Then the little decorative brackets were missing so a quick little scroll saw and wella two new brackets - now you can purchase these at Home Depot so no worries there. Lucky for me the mirrors were in good shape. The middle one was removed to work on seperately.
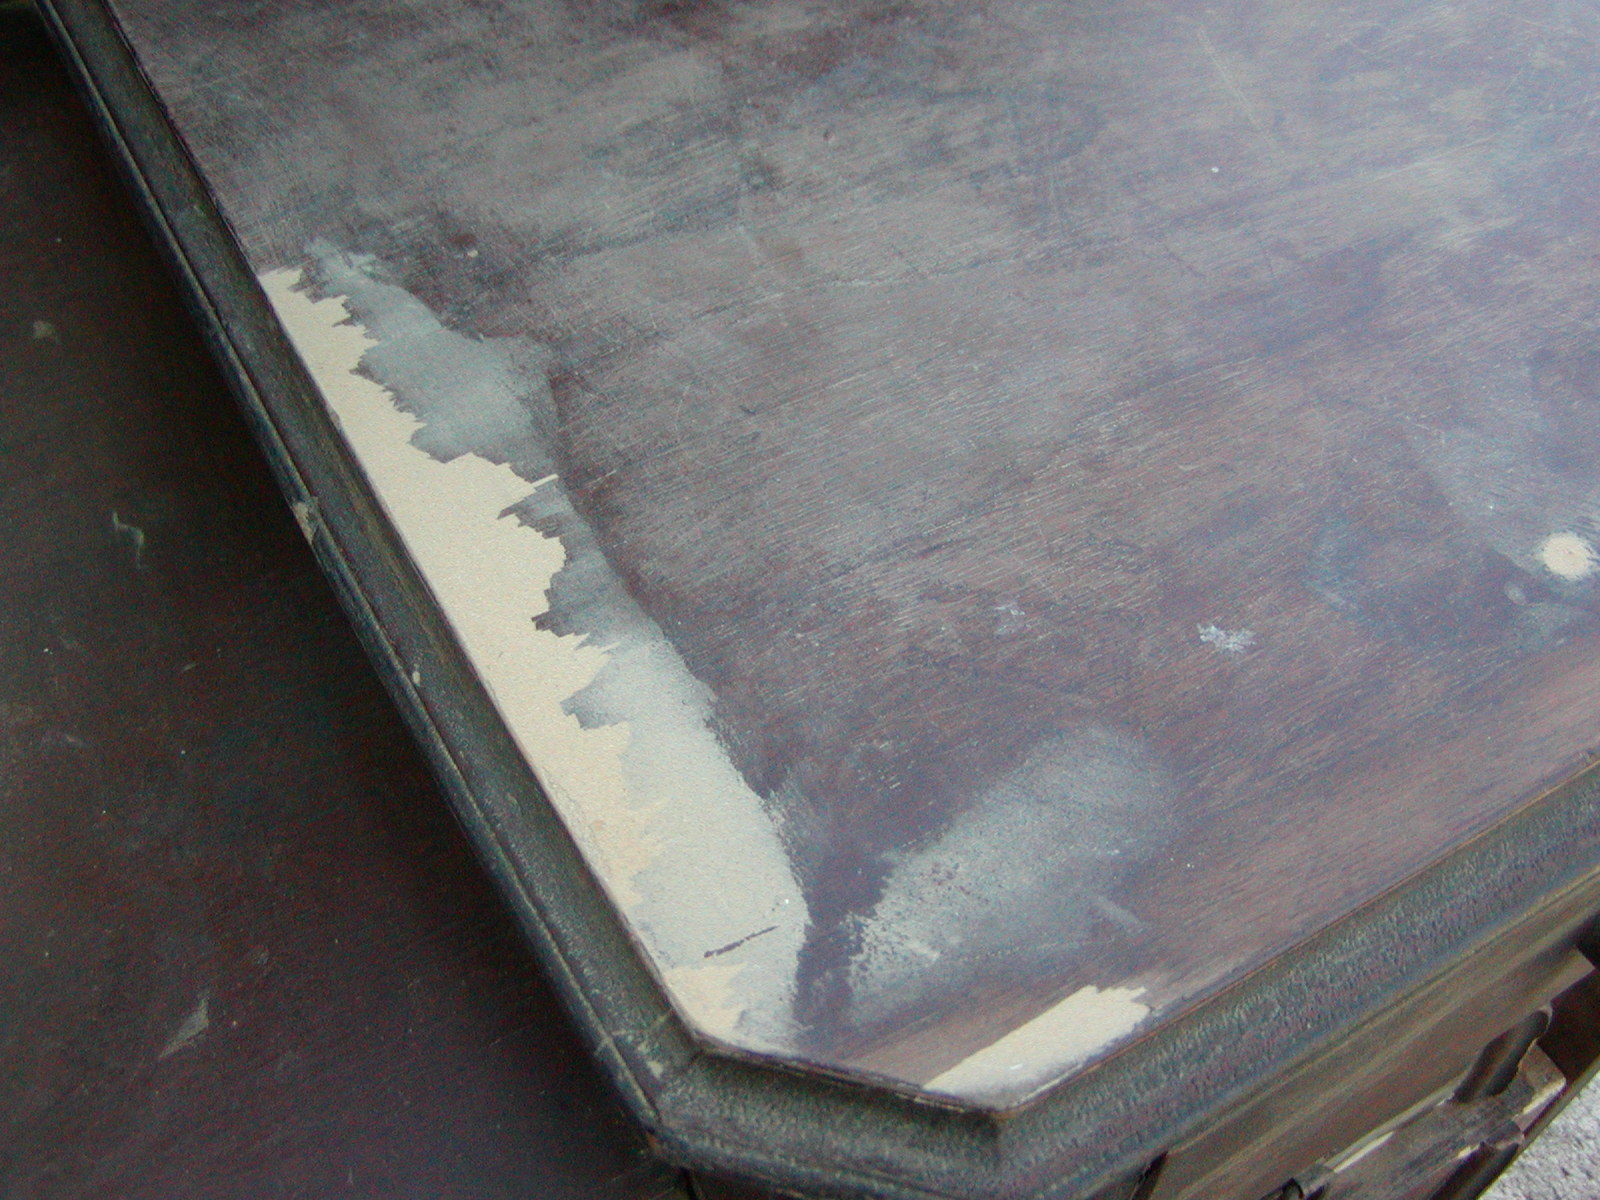
Next a good sanding was in order to get all the surfaces level and smooth to the touch.
Now of course there was some veneer missing and bubbled that just would not do. With a little creativity it is easy to make it work and look just fine. Take a look at the new piece of luan that was added to the sides to fix this problem.

Now, time to paint.  I don't use primer, call me silly but isn't it just paint?  and what is better for shabby chic than layers and layers of paint.  I use good ole flat paint. Any brand will do. I prefer Walmart's Country White, but I also love the pastels offered by Martha Stewart's paints.  Flat works the best for sanding. Satin is ok but tends to ball up a bit, but with a little hand sanding you can usually smooth it out ok. 

Now first the sanding - I use an orbital sander. I find it fast and easy and it doesn't have to be perfect, just a quick sand unless you have some stubborn areas. Then a damp cloth or tact cloth to clean off the sawdust and you're ready to paint.

I use sponge brushes that way I don't leave any brush strokes. I can also get a more even coat on with them and the sizes are made just right for all those nooks and crannies.  I use the ones in the packages from Walmart, they last the longest and there is a good variety of sizes and are inexpensive.

I use 3 to 4 coats. Don't skimp. The first two coats don't have to cover, but the last one or two definately do. You'll know after the 3rd if it needs a 4th. I'd say it is usually a 50/50 chance it will need a 4th coat.  When I am painting mirrors, I don't waste my time taking the mirror out of the frame or taping off. Inevitably the paint goes where it's not supposed to and I  miss a spot or two, so heck with that. I paint right onto the mirror and get in all those little crevices. I then go back with a razor blade and clean the mirror and make very clean breaks between mirror and frame. It looks much better and I don't have to worry about it.
Now for the fun part. I use the orbital sander to go over all edges and raised parts to expose some of the wood - this is your shabby look.  You could also use a different color for the first coat and when sanding the color will come through.  You just have to play with the sanding to decide how much to take off and how hard to press on the sander.


Ok, we are almost done. This part is OPTIONAL. I usually don't do this but there are instances on kids furniture or kitchen and bathroom pieces I will. The last thing I do is give it two good coats of spray on varnish. I like American Trends when I can find it. It does not turn yellow.  You have to be carefull when using other brands - regardless of what it says on the label.  Try a spot first.

Wella - the finished product.....

Thursday, October 28, 2010

Don't you just love my new blog design?

Thank you Thank you Thank you Karen of Valentine Designs!  She did such a beautiful job.
Her information is on the sidebar at the left if you need help with your blog. She is wonderful to work with. 

Keep checking back. Lot's more to see in a few days. Just waiting for the next batch of ceramics to come out of the kiln!

Also I've started an Etsy shop so soon you'll be able to purchase some treasures!

See you soon!

Saturday, September 4, 2010

On Vacation in Chicago

Won't be posting for a bit. I'm in the lovely Chicago area.  This area is so full of culture I can't wait to get out there and see it all!  Billygoats, Andys, and possibly the architectural boat ride today. Miracle Mile tomorrow. I love it here!

Wednesday, September 1, 2010

Don't forget the Open House Tomorrow

My fave Antique Shop, Mixon's, Open House is tomorrow from 4pm to 8pm. Lot's of sales.  I dropped by this afternoon and it looks so nice in there. There is something for everyone. Very unique stuff and very good prices!  The sales will continue through Labor Day just in case you can't make it tomorrow.

I'll see if I can get some pics to post so you too can see what a great place it is!

Hope to see you there!

What says Vintage like Wicker

This really isn't a project like the others but a repurpose. I found this great wicher rocker and ottomon and loved the lines and the color.  I had some floral pillow shams at home that worked well with the striped pillow I found at the flea market. Wella, repurposed pillows makes a comfy rocker for the porch!

Project 1: Follow up

I was really trying to come up with a little vinette to match those cute little pillows and lamp I found that reminds me of the 60's and I came up with a little dresser so I decided to paint the drawers to match.  I also found a good sturdy white chair to pair with the painted table. I'm attaching a photo of the painted drawers and once I get it all set up I will post the final picture.

Lesson 1 - Part 2: Paint a Kitchen Table Vintage Flamingo

Finally got the table top home to paint. First I sanded it to knock off all blemishes and make it smooth. I also like the shabby look so I exposed some of the wood beneath. Then I washed it down with soap and water and a good scrubbing. I'm not afraid to use water on wood as long as it does not sit on it for long and the wood is solid.

Then I prepared my paints. I used the same colors as the legs but really wanted a more subdued look so as not to take away from anything that would be placed on the table such as a centerpiece or dishes.I found a great picture of a clam shell on Google Images and I referenced it to draw the basic shape on the table using a drawing pencil.  I used a palete with each cup filled with water. I used about two drops of each paint in the cups and stirred them up good.  I used a wash to lay down the foundation of the shell and then went back with just paint to do more detail. 

When it was done, I was not quite happy with the starkness of the design so I waited until it was dry and took a damp wash cloth and scrubbed off what I could to make the design look faded and chippy.  I love it! It has that vintage look and matches the legs now.  I also used a grey sealer/primer over the paint to give it a wash effect and also used it on the legs for a uniform look.

Once I get the table and legs all put together I will post the finished look as well as post the video with the how to do it!

Sunday, August 29, 2010

Golden Books

I found this little golden book at the mission. I just love the old pictures of these kids and nature.
I plan to paint these on an antique bed I just bought. I will post the how to in a later post.

Virgin Mary

Among other things I love collecting statues of the Virgin Mary. She is truly a beauty to behold. I found her this weekend at a thrift store. She is old but I don't know how old. I love her colors. To me the vintage pastels are the prettiest!

Vintage Gnomes

These cute little creatures are from a retired vintage mold. I've painted them in true garden colors. These are my garden gnomes. They protect my garden from all that lurks in the shadows. They tend to my plants to keep them heathly and green. I hope you enjoy them as much as I do.

Rain, Rain, Go Away...

It's been raining for three days now so have not been able to paint anything. Then a power outage last night so gave up and went to bed. Perhaps today I will at least get my living room clean!  I did get some real good buys yesterday inlcuding two lamps that look like miniature lamp posts. I can't wait to get the all painted and shined up. I'll be posting photos of my finds later today.  I'm hoping to get ideas and suggestion for creating one of a kinds from you!

Thursday, August 26, 2010

Open House at Mixon's Antique/FleaMarket shop

Don't miss this open house on September 2nd from 4pm to 8pm at Mixon's Antiques and FleaMarket. Sales start then and go on through Labor Day! Great fun and great deals for everyone. They have the friendliest staff and the most uniques items - it's my favorite place to shop for vinatge stuff!

Monday, August 23, 2010

Project 3: By the Sea Gnome

I just love this gnome. He is listening to the ocean in the conch. I decided to use the same soft pastels of greys and beige and of course pink for the shell.

Project 2: Shell Mask

Since I'm on the beach theme right now, I thought I'd share two more projects I recently completed for my home. I recently started painting bisque for the first time. What a fun project that is to paint items and not know exactly how the colors will look until it is fired!  I also love gnomes so I had one of a set of three shown in the picture.  I'll save those for another post.

I saw this mask and had to have it!  I love pink so decided to use pinks and blues and bieges to complete this beauty.  I hope you enjoy her as much as I do!

Project 1: Folding Wood Table

Great flea market finds yesterday! A cute little white shabby folding wood table which I painted one shear coat of alternating pink and sage green, two small pillows and matching lamp shade on opposite ends of the store no less! and a great little iron magazine rack (although my sister found one similar and thought it would be great to put in the guest bathroom with towls.

I just need to find a small white lamp to put the shade on and a small coordinating comfy chair to slip cover and add the pillows to and wella ~ a great little seating area for reading a good book and sipping some yummy lemonade!

Lesson 1 - Part 1: Paint a Kitchen Table Vintage Flamingo

I started a new project tonight. I had this great solid wood kitchen table that is white on pine. A bit shabby from years of use and abuse but very good solid wood piece.  The legs have lots of grooves and great shapes for painting. I was inspired to paint it for a beach condo being so close to Pensacola Beach, FL. I found a great pair of vintage flamingos recently in a thrift shop so I decided to use those colors for my inspiration.

1st step, clean the legs. Scrubby with a bit of dish soap and water. Dry and that's it! Now onto the paint. I use acrylic paints that can be found at Michaels or Hobby Lobby even Walmart carries a few colors.
I chose to mix two of the colors so I had to be sure to mix enough for 3 coats so as not to run out. Too much is better than two little. I usually have a few small things to paint nearby so I can easily throw a couple coats on those with the left overs.

I added the paint to the legs and will put a polyurathane coating on top when thoroughly dried. I like to wait at least 24 hours or more to be sure it is completely dry. Next I will tackle the top of the table.
Take a look at my progress so far...


Check back for complete video instructions when the project is completed!

Sunday, August 22, 2010

Welcome to my blog!

I'm very excited to be starting this new project.  I have so many people who ask me "How did you do that?" so I thought it best to put it out there so every one could learn at once!  I have so many projects that I've done in the past and lots to share. Keep tuned as I add new projects and how I did them so you too can enjoy Painting it Vintage!